October 6, 2026
A vehicle wrap simulator shows a design on the vehicle before any film is printed. This guide explains how 3D previews and finishes are rendered, why screen colour drifts from vinyl, which features matter, and what a preview never checks.
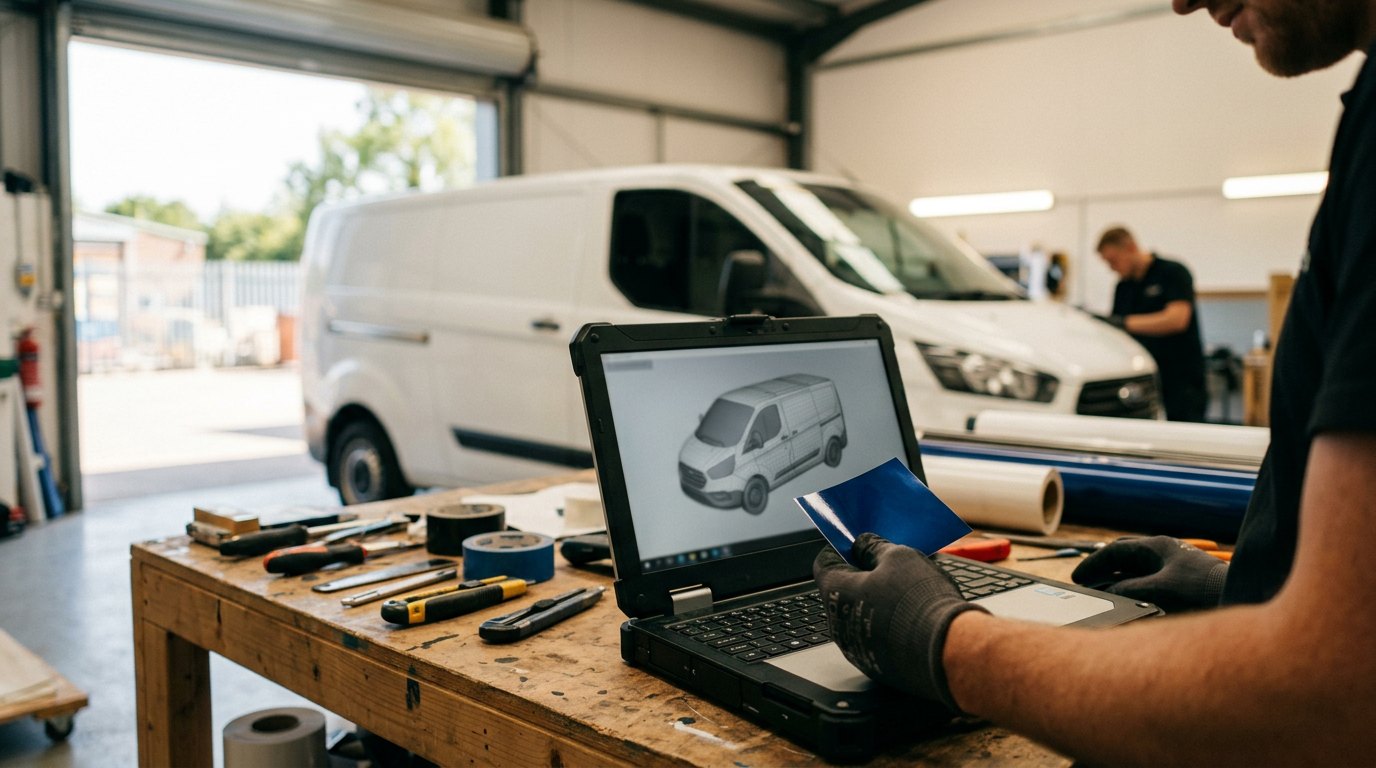
A wrap is a large purchase made on the strength of a picture. Before any film is printed, a decision-maker usually sees the result only on a screen, through a vehicle wrap simulator that places a colour, a finish or a full livery on a digital model of the vehicle. The quality of the decision depends on how far that picture can be trusted.
Some of what a simulator shows is reliable: proportions, the position of a logo, the balance between a dark bonnet and a light flank, the way a gloss surface catches light differently from a matte one. Other parts are approximations by construction, starting with the exact colour, because a screen emits light while a vinyl film reflects it.
This article explains how a vehicle wrap simulator builds its preview, how finishes are rendered, why on-screen colour drifts from the printed film, which features separate a useful tool from a gadget, and what remains to be checked once the preview looks right.
The term covers three families of tools that are often confused. The simplest recolour a photograph: the software detects the bodywork in an image and shifts its hue, leaving reflections and shadows roughly in place. A second family uses a three-dimensional model of a specific vehicle, on which a colour or an artwork can be applied and rotated. The third adds a business layer on top, tying the 3D preview to a price, a set of permitted options and an order.
The distinction matters because each family answers a different question. A photo recolour answers whether a shade suits the vehicle. A 3D simulator answers how a design sits on a given body shape. A product configurator, in the general sense of the term, checks choices against rules and turns them into a bill of materials, which is the step that connects an image to production. Some tools add augmented reality, projecting the model into a real car park through a phone camera, which helps with scale but not with colour.
Search terms vary with the tool. Some buyers look for a vehicle wrap customiser, others for car wrapping software, yet the underlying need is identical: reducing the gap between what is imagined and what is installed. For readers new to the subject, a short explanation of what a vehicle wrap is sets out what the film can and cannot do before any simulation starts.
Behind a 3D vehicle wrap simulator sit three building blocks: a model of the vehicle, a way to lay a flat design onto it, and a renderer that imitates light. Each one limits the accuracy of the final image in its own way.
The model is a mesh of polygons reproducing the bodywork of a given make, model and body style. Its precision decides almost everything downstream. A generic van shape will place a phone number correctly on screen and wrongly on the real vehicle, where a sliding door rail or a fuel flap interrupts the panel. Models are increasingly delivered in glTF, an open 3D format designed for efficient loading in applications and browsers.
A wrap design is drawn flat, while the vehicle is curved. The simulator bridges the two with UV mapping, which unfolds the 3D surface into a 2D layout so that an image can be placed on it and folded back onto the model. Where the unfolding stretches the surface, around wheel arches or deep bumper recesses, the artwork stretches too. This is where a preview first reveals that a logo or a line of text will distort on the real vehicle.
The renderer calculates how light reaches each part of the model and how the surface returns it. Most current tools rely on physically based rendering, an approach that describes materials through measurable properties such as roughness and metallicity rather than artistic adjustments. Browser-based simulators run on WebGL, the open web standard for 3D graphics, which explains why a configurator can now run on a showroom tablet as well as on a design workstation.
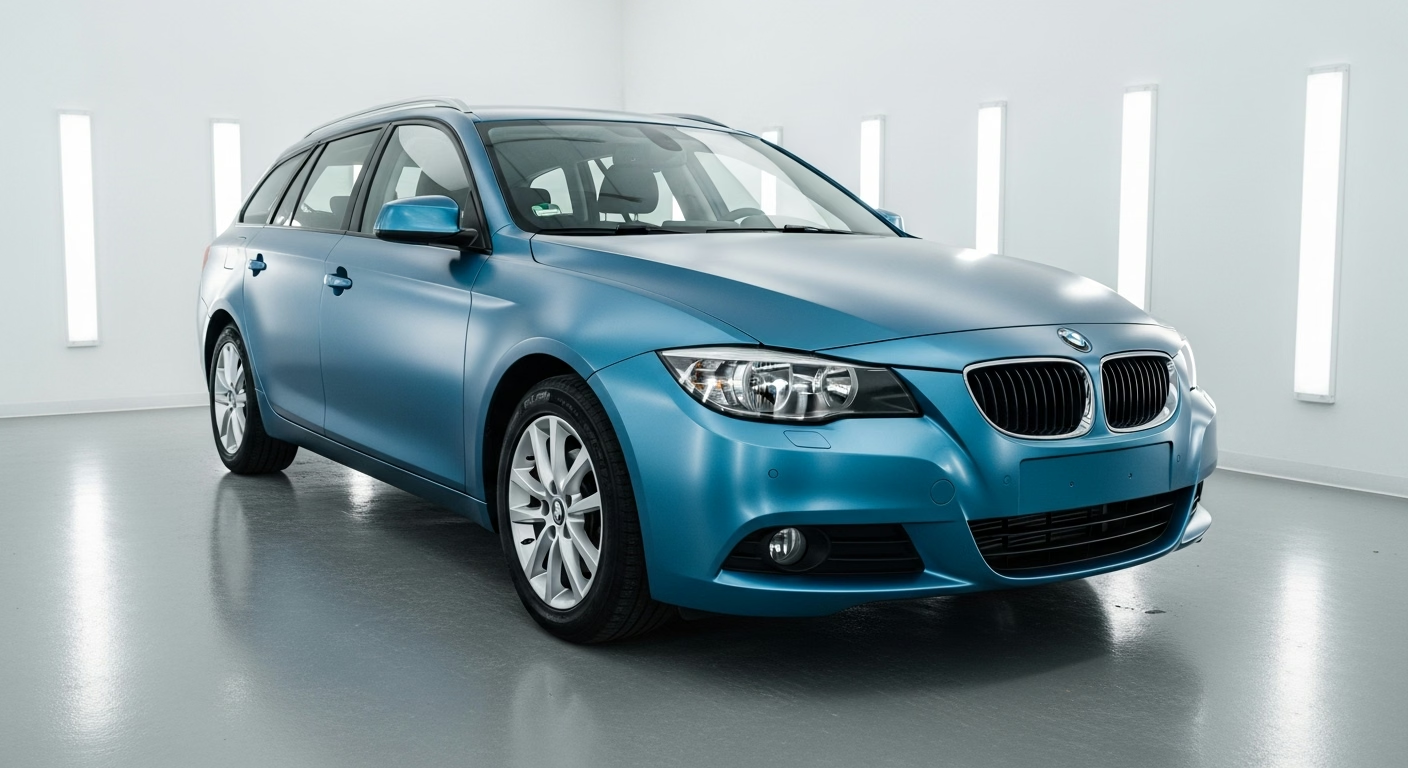
Finish is where a good simulator earns its place. Under physically based rendering, gloss film is described as a smooth surface with a sharp reflection, satin as a slightly rougher surface, and matte as a surface whose roughness scatters reflections into a soft sheen. Metallic and pearl films add a metallic component and fine flakes, while colour-shift films change hue with the viewing angle, an effect that only a rotating 3D view can suggest.
The renderer also depends on the environment it simulates. The same matte grey looks warmer under an overcast sky, cooler in shade and almost flat under workshop lighting. Better tools offer several lighting scenes, which is a quick way to see whether a finish keeps its character or collapses into a dull block. The range of options is wide, and a separate guide to vehicle wrap colours and finishes covers how each one behaves on the road.
A finish preview remains an interpretation of a material, not a measurement of it. Chrome, holographic and textured films are the hardest to render convincingly, because their appearance depends on reflections of the real surroundings and on surface relief that a screen flattens. For these films, the simulator is useful to judge placement and contrast, and a physical sample settles the finish itself.
A screen and a vinyl film produce colour in opposite ways. A monitor emits red, green and blue light, usually managed in sRGB, the default colour space of the web. A printed film reflects light through inks laid on a white base, following the subtractive logic of the CMYK colour model, or it is a film manufactured in a fixed shade. The two systems cover different ranges, and the gamut of a screen includes saturated tones, especially vivid greens, blues and oranges, that a printed film cannot reproduce exactly.
The display itself adds a second variable. Two monitors rarely show the same value identically unless both have gone through colour calibration against a measuring device, and phone screens often push saturation and brightness to flatter the image. A preview approved on a laptop in a bright office and checked again on a phone outdoors can look like two different colours.
The third variable is light. Through metamerism, two samples that match under one light source can differ under another, which is why a film chosen under workshop strip lights may surprise in daylight. Colour professionals quantify such gaps with colour difference values known as Delta E, where a value of 1 was originally designed to mark the smallest difference a trained eye can perceive. A simulator offers no such tolerance. Its colour is an approximation, and the reference remains the physical swatch, examined under standardised conditions such as those set out in ISO 3664 for prints and reflective media.
Most simulators look convincing in a demonstration. The differences appear when a real project goes through them, with a real vehicle, real artwork and several people to convince. Five features carry most of the value.
The model should match the make, model, year range and body variant, including wheelbase and roof height for vans. Panel gaps, handles, sensors and glass should be visible, because they decide where artwork can sit and where it will be cut.
A tool limited to solid colours answers only part of the question. A useful simulator accepts the real artwork in a vector format, places it on the panels and shows where it crosses a seam, a door line or a recess.
Each finish in the library should correspond to a film that exists and can be ordered, with the same reference carried into the quote. A rendered colour with no physical counterpart is a promise that production cannot keep. The relationship between the rendered material and cast and calendered vinyl also determines durability, which no preview can show.
Side-by-side views, saved versions and a shareable link or proof make approval easier, especially when several people sign off a design. A numbered version history avoids the classic error of producing the second-to-last proposal rather than the approved one.
The most useful tools connect the preview to a price and an order, so the decision-maker sees the consequence of each change. An online configurator that combines the preview with a quote shortens the loop between an idea and a costed proposal.
An approved preview is not a production file. Once the design is validated, it is rebuilt or exported at full scale on an accurate template of the vehicle, with generous bleed around each panel so the film can wrap into edges and channels. Logos and text are supplied as vectors, images are checked at final print size, and colour references are fixed. The principles behind this stage are covered in detail in the guide to vehicle wrap design.
The proof that comes out of this stage is the real agreement between the client and the workshop. It shows each panel flattened, with seams, overlaps and the areas left uncovered. Comparing it with the simulator view is a useful last check: any element that moved, shrank or disappeared between the two needs an explanation before printing.
Price follows the same logic. A simulator linked to a pricing engine can give an indicative figure based on the surface covered, the film category and the complexity of the vehicle, but the final quote depends on the condition of the paintwork, the removal of existing graphics and the installation time. The main drivers of vehicle wrap cost explain why two previews that look alike can lead to different prices.
For a single vehicle, a simulator is a comfort. For a fleet, it becomes a coordination tool. The same identity has to work on a small car, a panel van and a box body, and each body shape changes the space available for a logo, a slogan or a contact line. Running the master design across every model in the simulator exposes the vehicles where the layout breaks before the first film is ordered.
It also structures approval. A head office, a regional manager and a marketing team rarely look at a design at the same time. A shared preview, frozen as a numbered version, gives everyone the same reference and reduces the round trips that delay roll-outs. Operators who want to understand how branded vehicles are specified, ordered and maintained can read the overview of commercial vehicle wraps.
At scale, the configurator logic matters as much as the 3D view. Rules that block an unapproved colour, a logo too close to a seam or an option unavailable for a given model protect the brand when many people order vehicles without a designer at hand. Individual variants are then produced within a controlled set of rules, which keeps a fleet consistent as it grows.
A preview shows what a design looks like. It does not check whether the design is allowed on the road. In the United Kingdom, a full colour change has to be recorded, since the guidance on updating a V5C registration certificate lists colour among the details to update. A simulator will render a new colour without flagging this administrative step.
Glass is the second blind spot. The tinted vehicle window rules require the windscreen to let through at least 75% of light and the front side windows at least 70% for vehicles first used from April 1985, which rules out solid film on that glass. The wider duty to keep the driver's view clear sits in the Road Vehicles (Construction and Use) Regulations 1986. Some simulators still render a design across every window because it looks more complete.
Number plates are the third. The rules on displaying number plates forbid altering characters or making them hard to read, with a fine of up to £1,000 and an MOT failure at stake. Any border, pattern or colour field near the plate area has to stop short of it, whatever the preview suggests.
The subject of this article connects with several services offered by Brands And Markets. For projects where a full wrap is more than needed, the page on vehicle lettering and decals covers lighter graphics that a simulator can preview just as well.
For manufacturers and dealer networks preparing special editions or a coordinated line-up, range animation for vehicle line-ups applies one design system across several models, and the online configurator allows a layout to be previewed on the vehicle before production.
A vehicle wrap simulator is a decision tool with a clear domain of reliability. It can be trusted for layout, proportions, the interaction between artwork and body shape, and the general behaviour of a finish. It remains an approximation for exact colour, for complex films such as chrome, and for anything that depends on real light.
Sound use follows the same order every time: settle the design on an exact template, compare finishes under several lighting scenes, confirm colour against a physical swatch, check the legal limits on plates and glass, then turn the approved preview into a print-ready proof. Used this way, the preview removes most surprises from a wrap project instead of adding new ones.
A recoloured preview looks realistic for shape, proportions and the general character of a finish, especially when the tool uses a 3D model of the exact vehicle and physically based rendering. It is less reliable for the precise shade. A screen emits light while a film reflects it, the two cover different colour ranges, and every display shows colour slightly differently unless it has been calibrated. Lighting adds another variable, since a colour can shift between daylight and workshop light. The preview is therefore best used to choose a direction and compare options, and a physical swatch of the selected film, examined in daylight, confirms the final colour before ordering.
Most 3D simulators can show matte, satin, gloss and metallic finishes, because physically based rendering describes each one through roughness and metallic values. Matte appears as a soft, diffuse sheen, gloss as a sharp reflection and metallic as a brighter highlight that changes with the viewing angle. The rendering is convincing enough to compare finishes and to judge how they affect a design. It is weaker for chrome, colour-shift and textured films, whose look depends on real reflections and on surface relief that a screen flattens. For those films, the simulator helps with placement and contrast, while a sample applied to a curved panel shows the true effect.
Many simulators allow side-by-side views or saved variants, which is the most efficient way to compare colours on the same vehicle. Comparing within one tool, on one screen and under one lighting scene keeps the differences meaningful, because the same display bias applies to every option. Switching between lighting scenes adds information, since some colours hold their character while others flatten. Once two or three options stand out, physical swatches of those films, viewed together in daylight, decide between them. A shareable link or proof of each variant also makes it easier for several decision-makers to approve the same option without confusion between versions.
The price of a wrap depends on the surface covered, the category of film, the size and complexity of the vehicle, and the preparation needed, such as the removal of existing graphics. A full colour change on a car costs significantly more than partial graphics or lettering. A simulator linked to a pricing engine can turn a preview into an indicative figure, which helps compare options before contacting a workshop. The final quote still depends on an inspection of the paintwork and on the installation time. For fleets, the price per vehicle also depends on the volume ordered and on the number of different body shapes to template.
Most 3D simulators treat trim, glass, lights and wheels as materials separate from the painted bodywork, so a new colour or design can be applied to the panels while the rest of the vehicle keeps its original appearance. Some tools go further and offer a choice on whether to wrap elements such as mirror caps, the roof or trim strips, which is useful to preview contrast details. Photo-based recolouring tools are less precise and sometimes tint parts that should stay unchanged. Checking that the preview separates these elements correctly avoids approving a design that cannot be reproduced on the actual vehicle.
Prêt à transformer votre projet ? Discutons de vos besoins et de la manière dont nous pouvons collaborer.
Adresse : 28 rue Fresnel – F-78310 COIGNIERES
Téléphone : 01 85 40 01 75